Let's talk about craft projects because this is a picture of our poker table, which I was so conveniently using for craft projects.

Would you say I possibly have too many projects going on?? nah......
Well on Friday night I got the glorious pleasure of cleaning all this up. I went to Canton on Saturday with LL and it turns out a poker game was planned. I should mention all three kids home this weekend...whoop whoop whoop!!! Soooooo, the poker table needed to become a poker table and not my craft table. bummer!! It may have prompted me to get these projects moving along a bit since I finished three of them!
First one was Mere's wine bottle lamp

cute and fun and funky....love it!!! Mere liked it too and that's a wonderful thing!!
Off to crafty project number two. Back in February hubby and I traveled to North Carolina to pick up some things from his mom's house. I found this pile of old keys in a drawer and no one wanted them but I just couldn't let them get tossed so I brought them home with me. After scrounging the Internet for some inspiration this is what happened to them.

First I found some shadow box frames and bought some burlap material. Cut the material and glued it to the frame backs.

Used some teacup hooks (that I sprayed black) and twine to tie the keys together.

Next they need to go in the frames. Some I hot glued directly to the burlap and others I used the teacup hooks.

Used the picture inserts to layout the pattern on the wall for hanging the frames, then it's nothing but popping some little nails in the wall.

This is my favorite

But I like this one too.

Here they are, all hung up on the wall.
MUCH cheaper than some catalog pics I'd seen and they belonged to hubby's mom....even better.
Final project of the weekend... got all the other Halloween decorations up so I needed to get the wreath for my front door finished.
I used this one for inspiration and then added a few little twists of my own.

First things first, let's get that outside and get the straw wreath sprayed black.
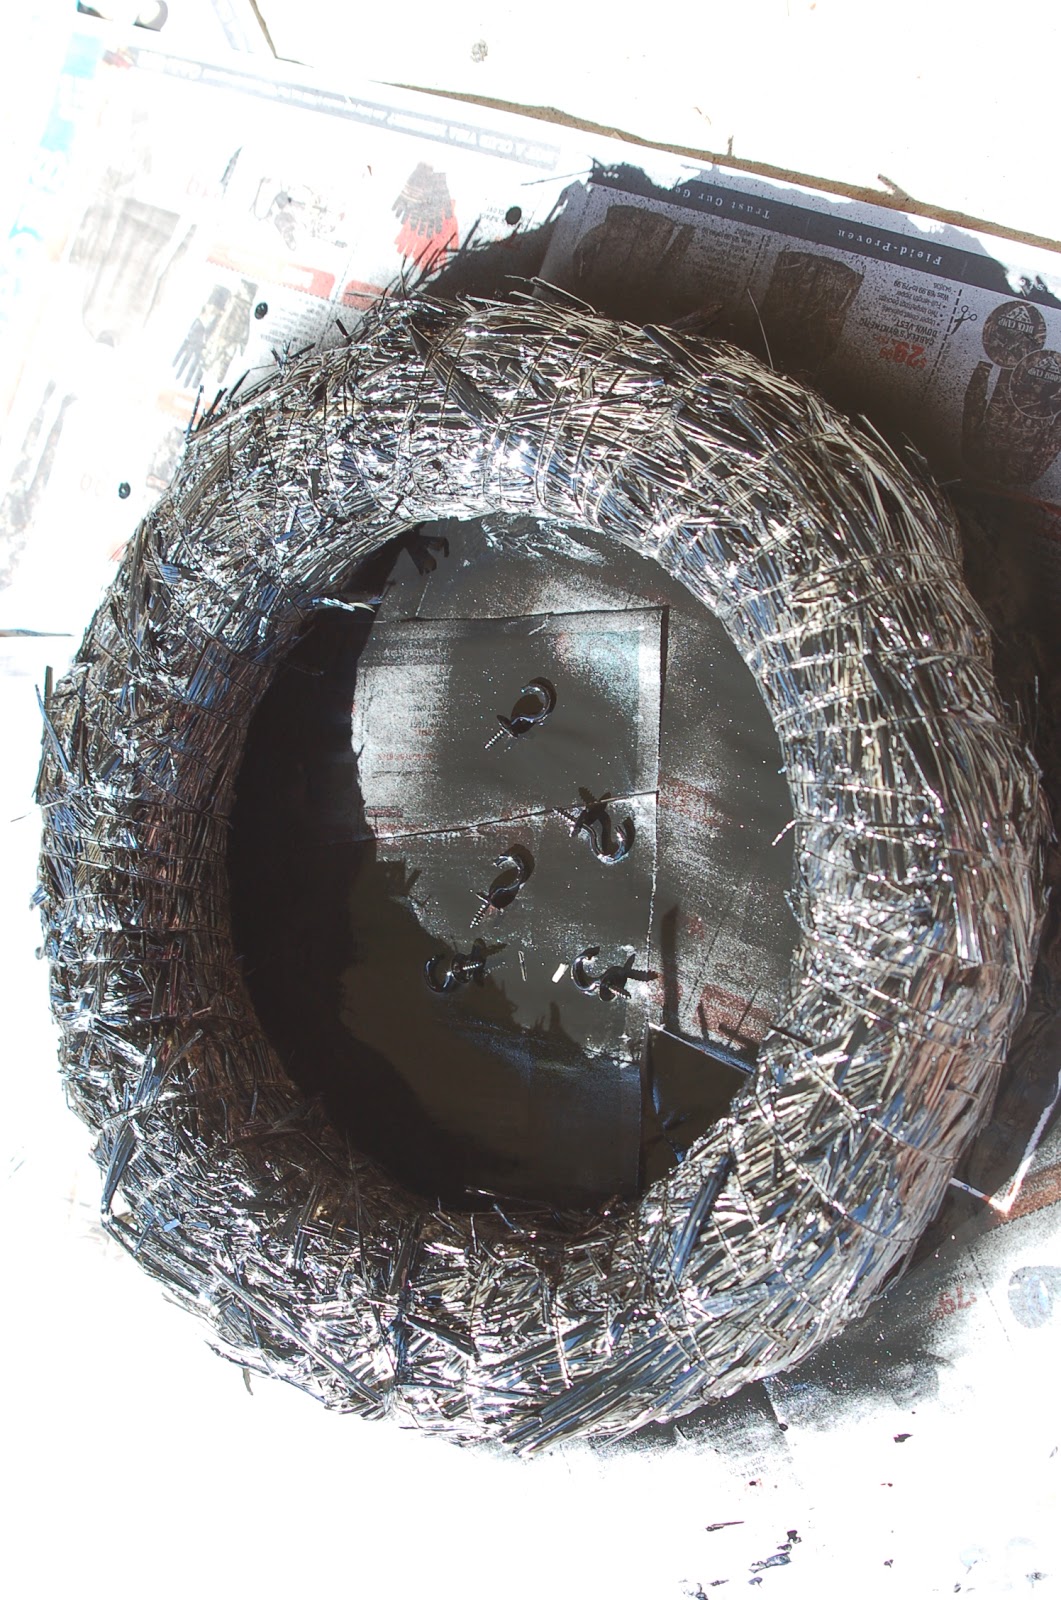
Now I realize you are thinking..."man, she sure could have done a better job spraying that wreath" but hey, it's Halloween and this is a rather rustic looking wreath and I didn't want it all perfect looking. BTW, those are the teacup hooks from my previous craft project. Spray once, craft twice!!

Now let's get those letters for the wreath started. I just purchased the thin wood letters and some Halloween scrapbook paper. Let's just decoupage those little letters and see what happens.

Sorry to the wal of mart advertising section, you were needed to contain the wet decoupage items. :0)
While those are drying let's grab that nifty feather boa with the green sparkles I found at the hob of lob and wrap it around the wreath. It was short so I skipped the area where I was putting the letters.

Now it's time to grab some black burlap fabric, cut into strips and just tie in knots all around the wreath until it's nice and fluffy.
(this is where I apologize for lack of photos, you see I became distracted by decoupage glue, Halloween candles that dripped and the fun in lighting the candles and putting them out by licking your fingers, playing with the colored wax from said candles, laughing really hard about NOT burning the house down while playing with the candles, the hot tub at the gym, sending the Abogg and his friend Tdub back to college...shall I go on or do you get the picture here??)
Anyway when you finally realize you have a huge mess working on the kitchen table you want to come back and attach a really big ugly plastic spider. 'Cuz it's Halloween and all!

Then you get those letters to FINALLY finish drying (or you restrain yourself from putting 18 layers of Modge Podge on them). Now let's take it to the front door!

It's cute it's fun and it's soooooo Halloweeeeny!!!

This is the front porch area. I still love my flying witch so much. She came from an incredibly hilarious shopping trip to the big o lots with my friend Mel after a very successful yard sale in which we commenced to spend every penny we made in the yard sale on Halloween decorations because that's how we rolled!!! oooh how I miss the yard sales with Mel... so many stories and so many good times and sooo much laughter!
That's it for today peeps 'cuz I gotta get motivated and get the chores done!!!
Peace, Love and Yummies on this beautiful fall Monday!


